| “This site contains affiliate links for which OEMDTC may be compensated” |
SUBJECT:
SERVICE PROCEDURE: VCMA ACTUATOR REPLACEMENT
This article provides the replacement procedure for the VCMA (Variable Charge Motion Actuator) on some 2011-2013 Sorento vehicles, equipped with a 3.5L V6 engine, which may experience an illuminated Malfunction Indicator Lamp (MIL) and drivability concerns. Follow the procedure outlined below to correct the concern.
- Verify the customer complaint and diagnose following KGIS information, using specific DTC information and trouble trees as appropriate.
- If diagnosis indicates that VCMA needs to be replaced, ONLY replace the actuator itself as described below; do NOT remove/replace the intake manifold.
- Remove the engine cover.
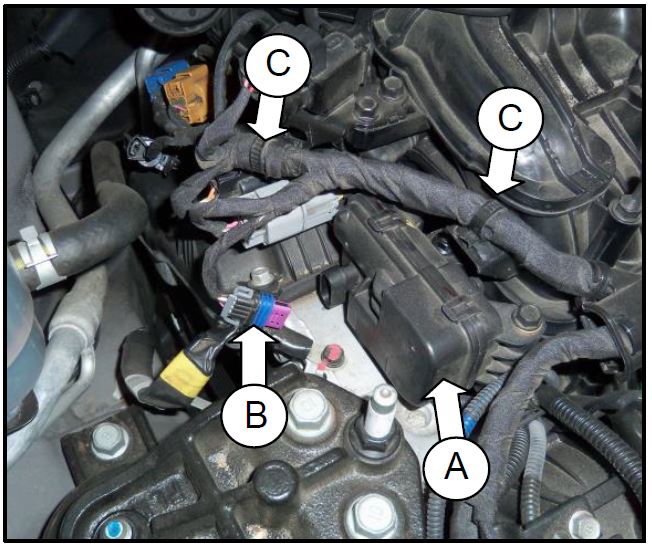
- Remove harness connector (B) from the VCMA (A) and all other associated connectors and retaining clips (C). Also, move the harness away from the VCMA.
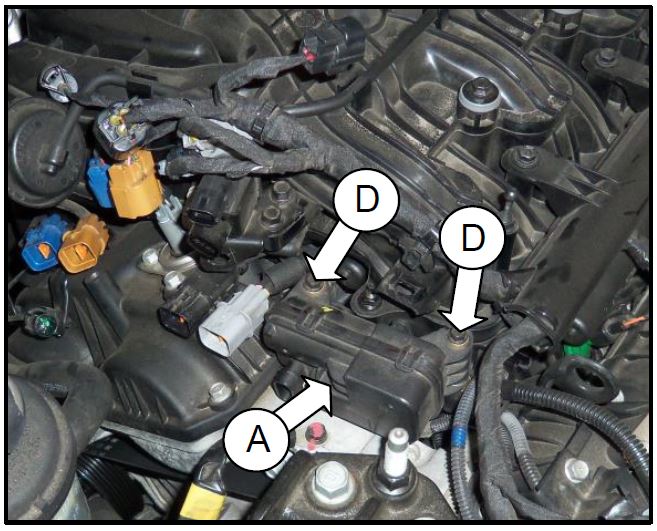
- Remove two mounting bolts (D) securing the VCMA (A) to the intake manifold.
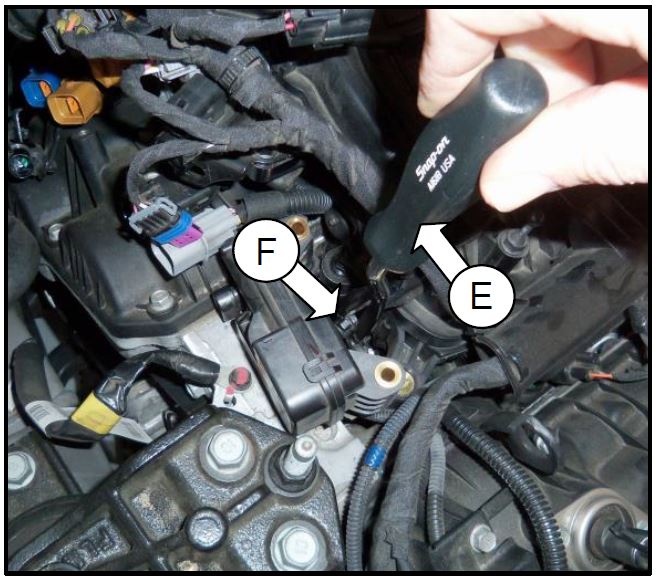
- Using a trim clip removal tool (E), apply pressure to separate the control arm (F) from the attachment point on the VCMA control lever.
- Remove the VCMA from the vehicle.
- Install the new VCMA and re-attach the control arm.
Variable charge motion actuator bolt torque: 8.0 ~ 11.0 Nm (5.9 ~ 8.1 lb-ft).
- Re-install all other components by reversing the removal process.
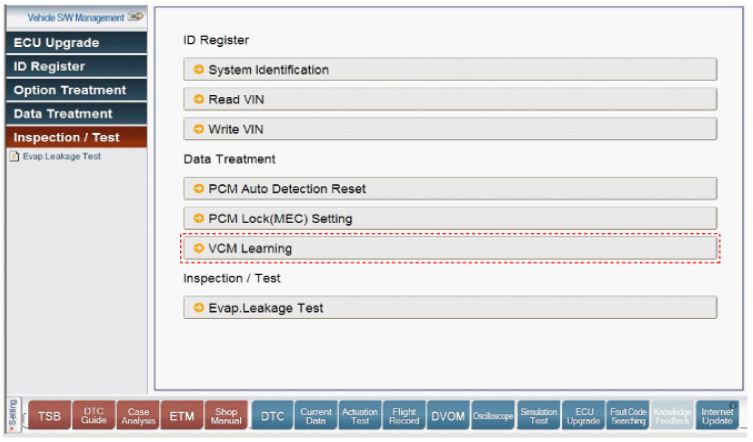
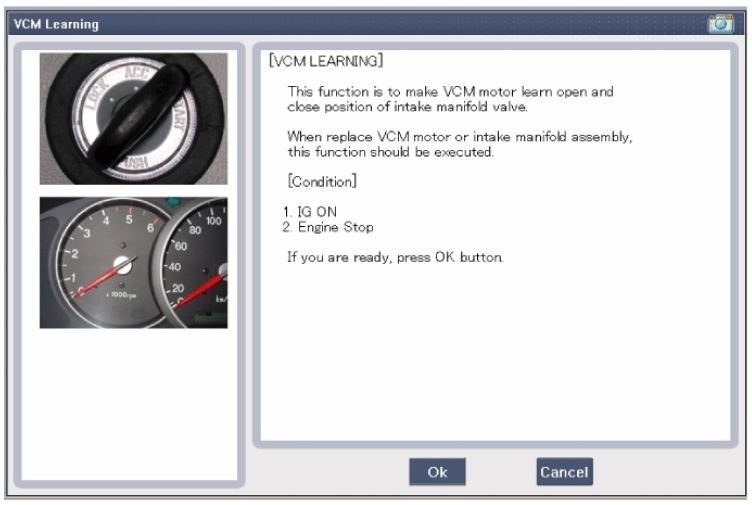
- Perform a relearn procedure as outlined below, otherwise a performance related concern may reoccur resulting in a repeat repair.
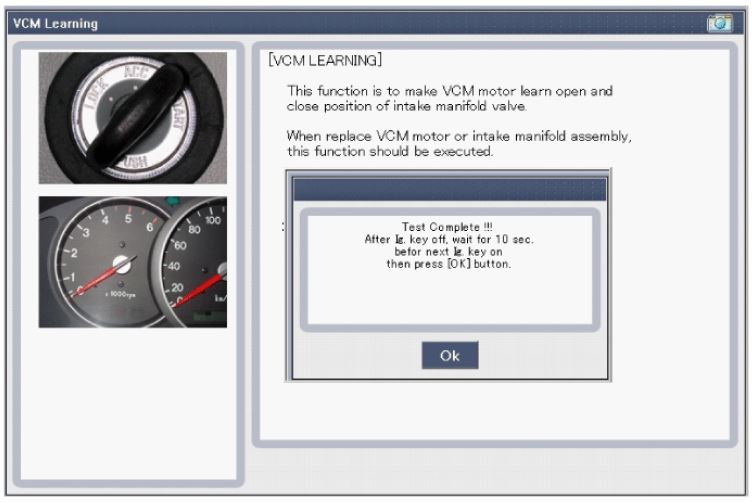
- Perform the VCM learning procedure according to the message on the GDS screen.
- Follow the on screen instructions to finalize the test.
- Test drive the vehicle to verify normal operation and no recurrence of MIL on.
 Loading...
